Specification :


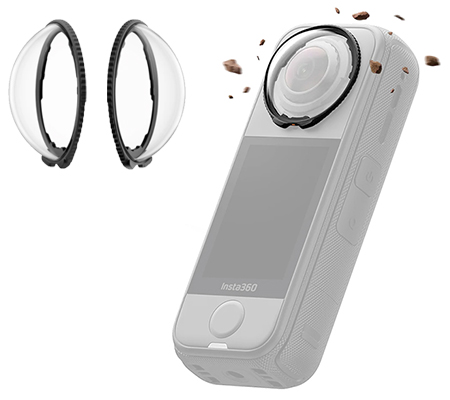
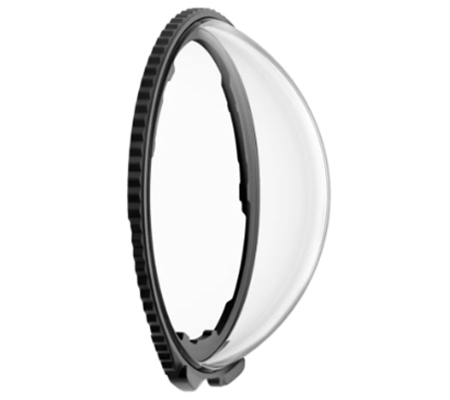
Premium Lens Guards
Stronger lens guards, sharper footage.
Built for bumps.
Crafted from 10H tempered glass* to tackle bumps, knocks and scratches head-on, keeping your lenses safe so you can focus on the action.
*Glass strength tested in lab conditions.
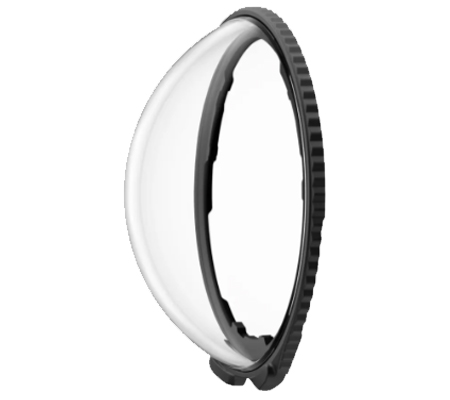
Crystal-clear creativity.
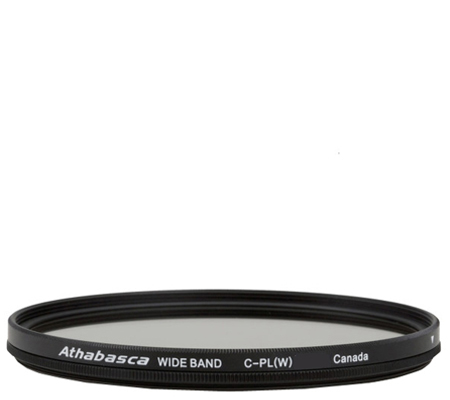
Multi-coated to maximize light transparency and image quality.
Focus on filming, not fiddling.
X4 Air automatically detects the lens guards and switches modes for you. No setup, just shoot.
Seamless stitching.
Works with the stitching algorithm to create smooth 360 shots with no lines or glitches.
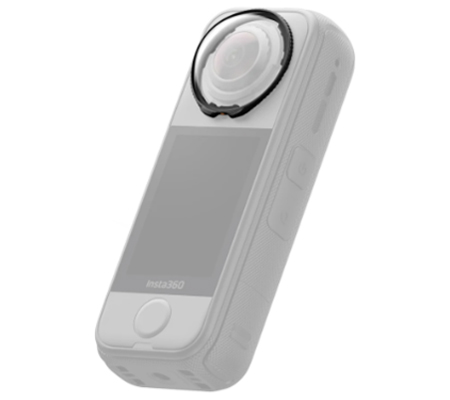
Do the twist.
Install and remove with an easy twist action. No tools, no fuss, no drama.
*The Premium Lens Guards are not waterproof. Do not use them in wet conditions.
In the Box
2x Premium Lens Guards
1x Lens Cloth
Specs
Weight: 4g (0.1oz)
Size: 32.7×33.4×11.5mm (1.3x1.3x0.5in)
Material: Glass, plastic
How to Use :
1. Install Lens Guards
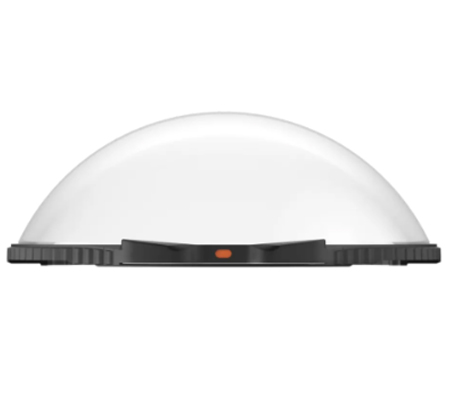
Align the tab on the lens guard with the lower right slot of the lens, as shown below. Rotate it clockwise until the orange mark aligns with the camera's microphone.
2. Confirm Installation
Once the lens guard is installed on the touchscreen side, a PREM icon will appear in the camera's status bar, followed by a pop-up. Tap the pop-up to confirm.
3. Remove Lens Guards
To remove the lens guards, hold the edge of the base as shown and rotate it counterclockwise. Once removed, the icon will disappear from the status bar.
Notes*
1. Do not squeeze or pull the base too hard when installing the lens guards, as this could damage or deform them.
2. Ensure the lens guards are securely installed on both lenses before using the camera. The orange mark on the lens guards must be aligned with the camera's microphone. If it's not, the camera won't automatically recognize the lens guards.
3. The status bar icon and camera prompt will show up only after the lens guard is installed on the touchscreen side.
4. The lens guards may slightly affect the camera's stitching. For optimal results, aim one lens directly at the subject whenever possible.
5. Dirty or worn lens guards may affect the final image result.
6. Avoid using the lens guards in rain or water sports due to the non-sealed structure.
7. To prevent fogging, dry the lens guards thoroughly with a soft cloth if exposed to rain, snow, or fog.
8. The lens guards contain magnets. Keep them away from pacemakers and other devices to prevent interference.
9. If you install the lens guards while the camera is recording, saving, updating, or formatting, the camera interface will display the prompts as shown in the table below.
.png)